How I made a tightrope trainer for my daughter
(that just fits in her college apartment!)
October 8, 2023 - Blog Index
|
1. The result -- it works great!
|
|
A 5/8" steel cable is 3.5" above the 3.5" high (and 5.5" wide) beam, standing on 3" feet -- so the top of
the cable is around 11" off the ground. Great for practice/training.
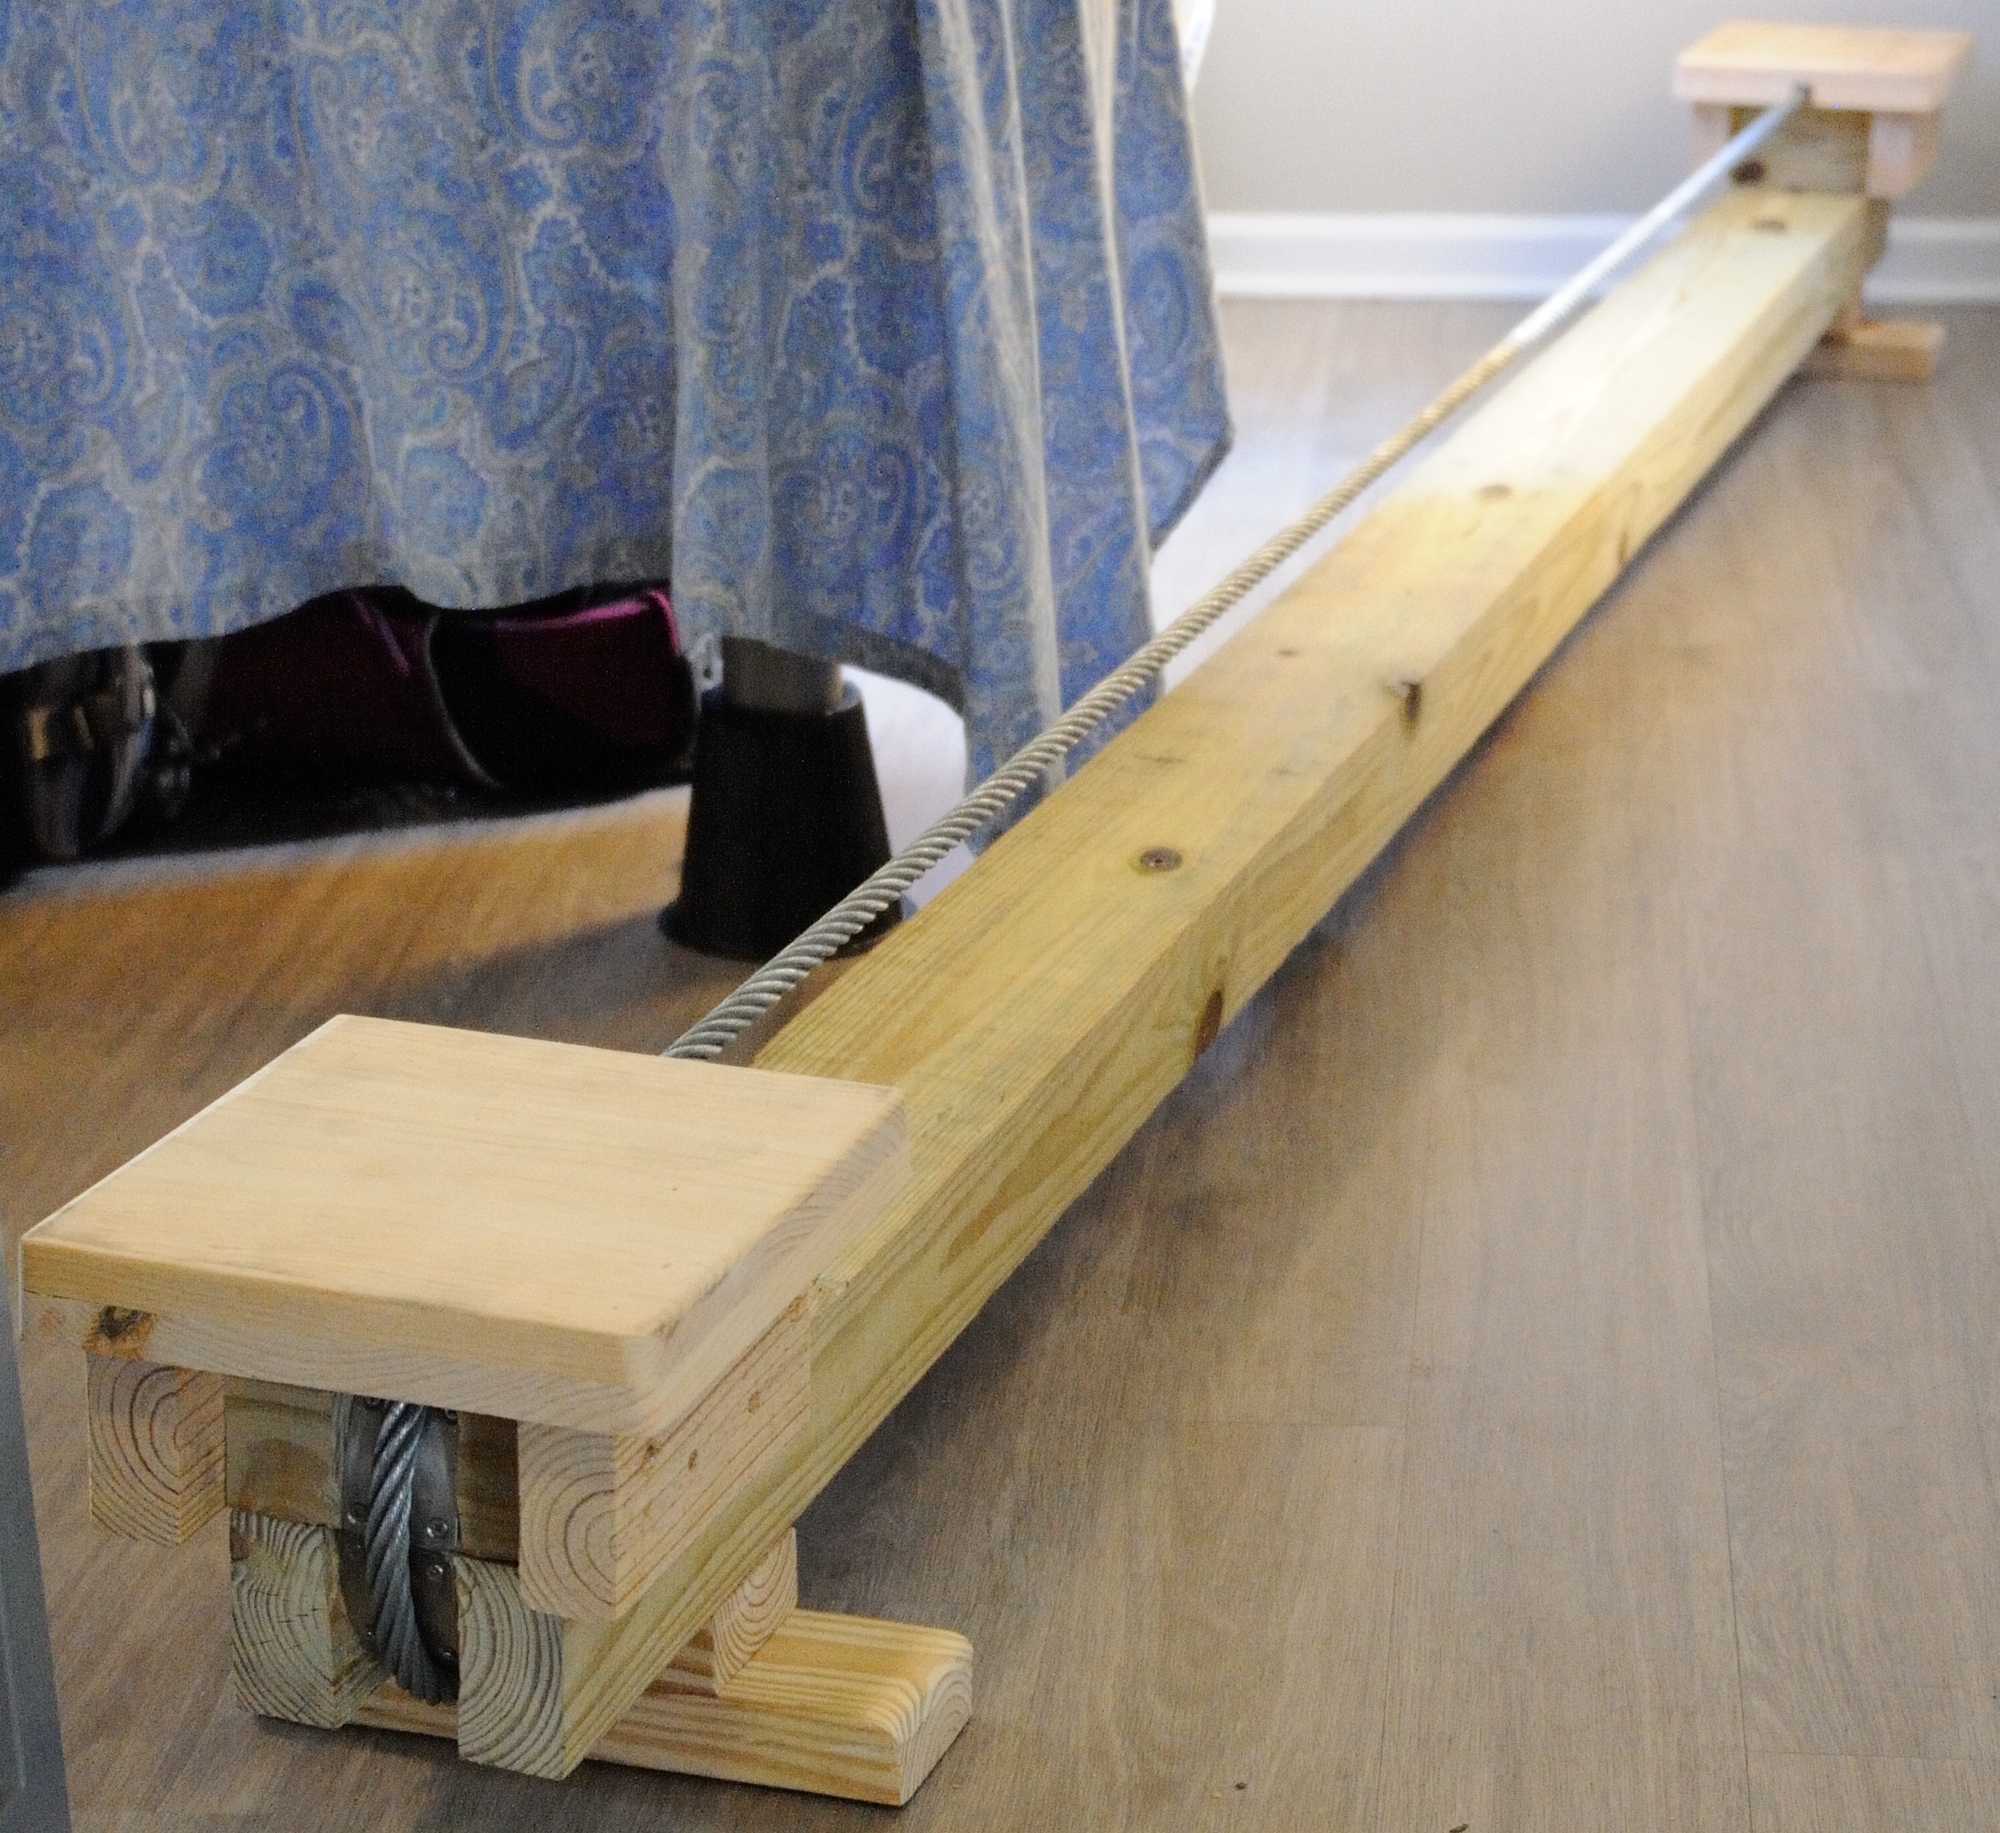
10.5 feet long beam (5.5" wide; 3.5" high) and uses a 5/8" steel wire rope cable
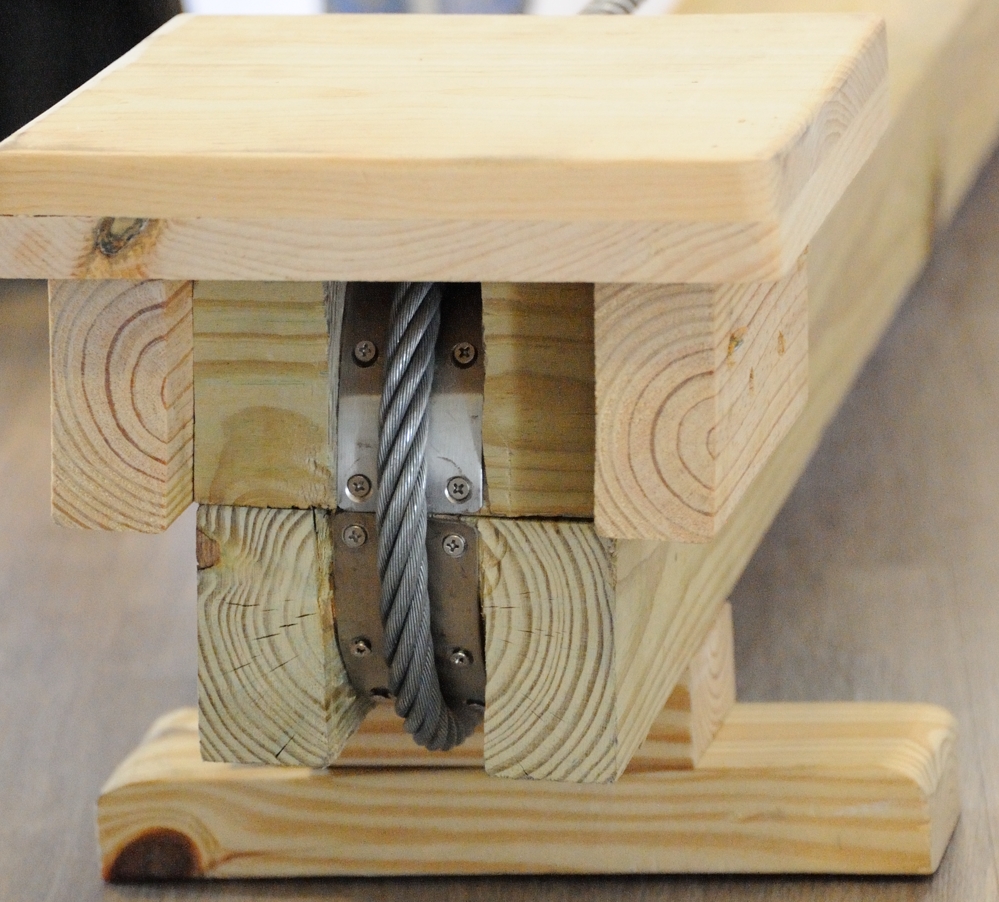
A nice radius around each end -- with metal straps for additional support
Channels cut in leg supports and platforms
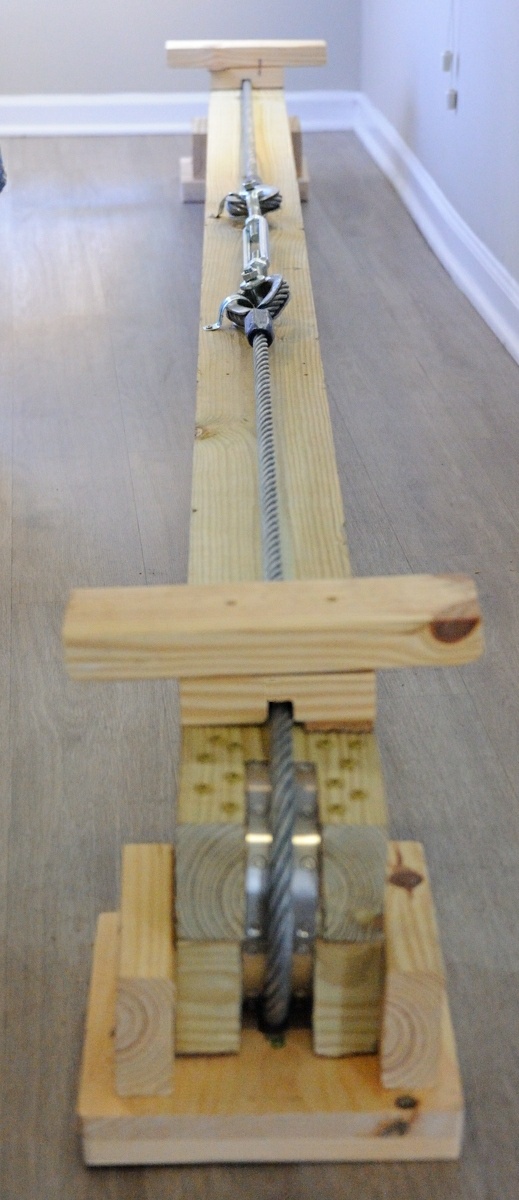
UNDERSIDE: The steel rope is connected in a loop on the underside using a turnbuckle
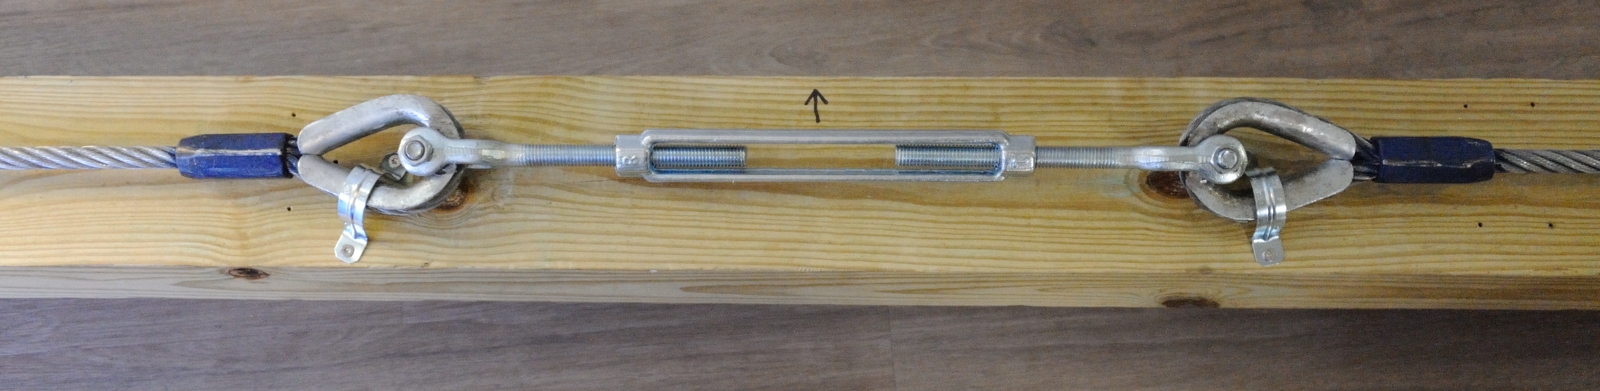
Turnbuckle detail (underside) -- arrow is direction that tightens

The size/scale of hardware is deceptive (hard to 'see' in photos) -- the wood beam size is 5.5" wide
Major supplies:
 |
4" x 6" x 12' wood beam
|
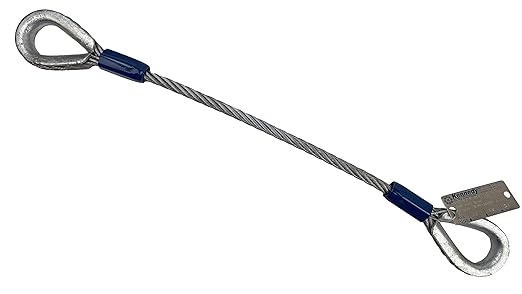 |
5/8" x 20' Galvanized wire rope with a 'thimble eye' on each end
|
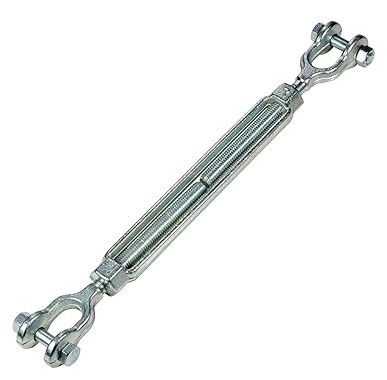 |
5/8" x 9" turnbuckle -- but in hindsight I needed a turnbuckle with a slightly larger jaw opening
|
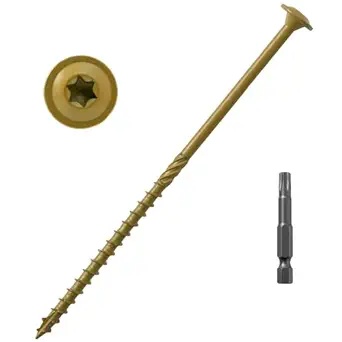 |
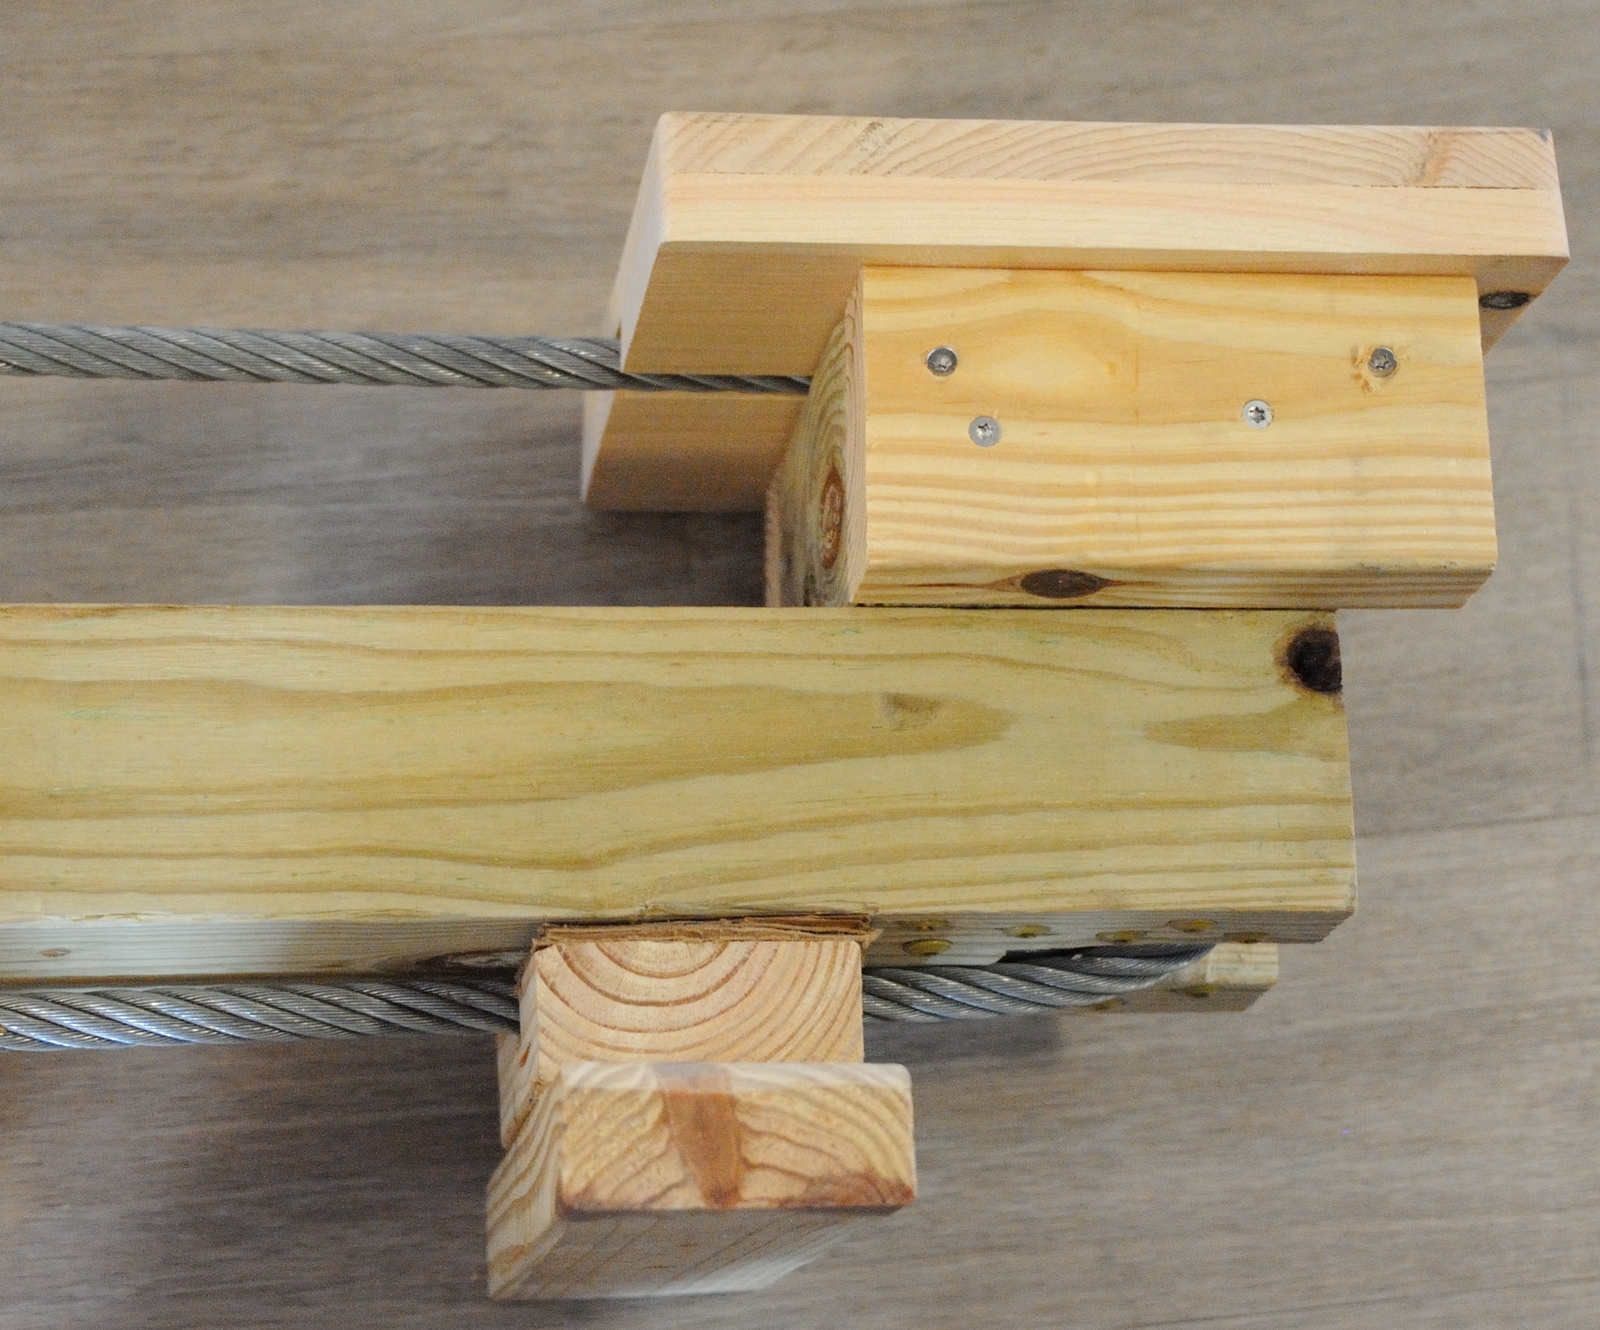
6" lag screws to attach two beam segments together on each beam end (makes the radius curve). I pre-drilled holes using 1/8" x 6" drill bit to prevent splits.
|
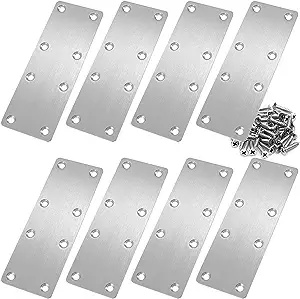 |
Flat mending plate bracket 5.5" x 2"
|
Minor supplies:
- 3" screws (for attaching 2x4 lumber)
- scrap 2x4 lumber to make two feet. One 2x4 needs a channel cut for the cable. Second 2x4 is stacked and wide enough to prevent beam from rotating while in use.
- 1"x12"x6' for making two 10" (or whatever size you want) 'standing platforms'; and scrap 2x4 lumber to better support standing platforms (optional)
- a scrap 2x2 board (18" or so long) to make an turnbuckle turning lever
- two 1.25" straps to prevent the cable from rotating (when the turnbuckle is tightened)
Tools:
Circular saw, belt sander, cordless drill, chisel, hammer.
Assembly:
5.5" were cut off each end of the beam and re-attached to the beam (after beam was trimmed to final length) with
a bunch of lag screws. A nice radius was cut into each end of the beam and mending plates added.
The wire rope and turnbuckle were added. Then feet and platforms.
Lessons learned:
- I purchased a turnbuckle with slightly too small of a jaw opening
(and because of timing constraints, fixed with an angle grinder). The 5/8" rope (plus the thickness
of the thimble) needed a jaw opening of 1".
- The wire rope was very dirty and greasy and had to be cleaned (hot water, dawn, and a scrub brush)
- I had to 'shim' the legs slightly (used cardboard) to match the 'out of level' floor
where installed (see update below for another fix that would have taken care of this).
|
5. UPDATE (February 22, 2024)!
|
|
Problem: The beam started to twist -- A LOT, making the trainer unusable.
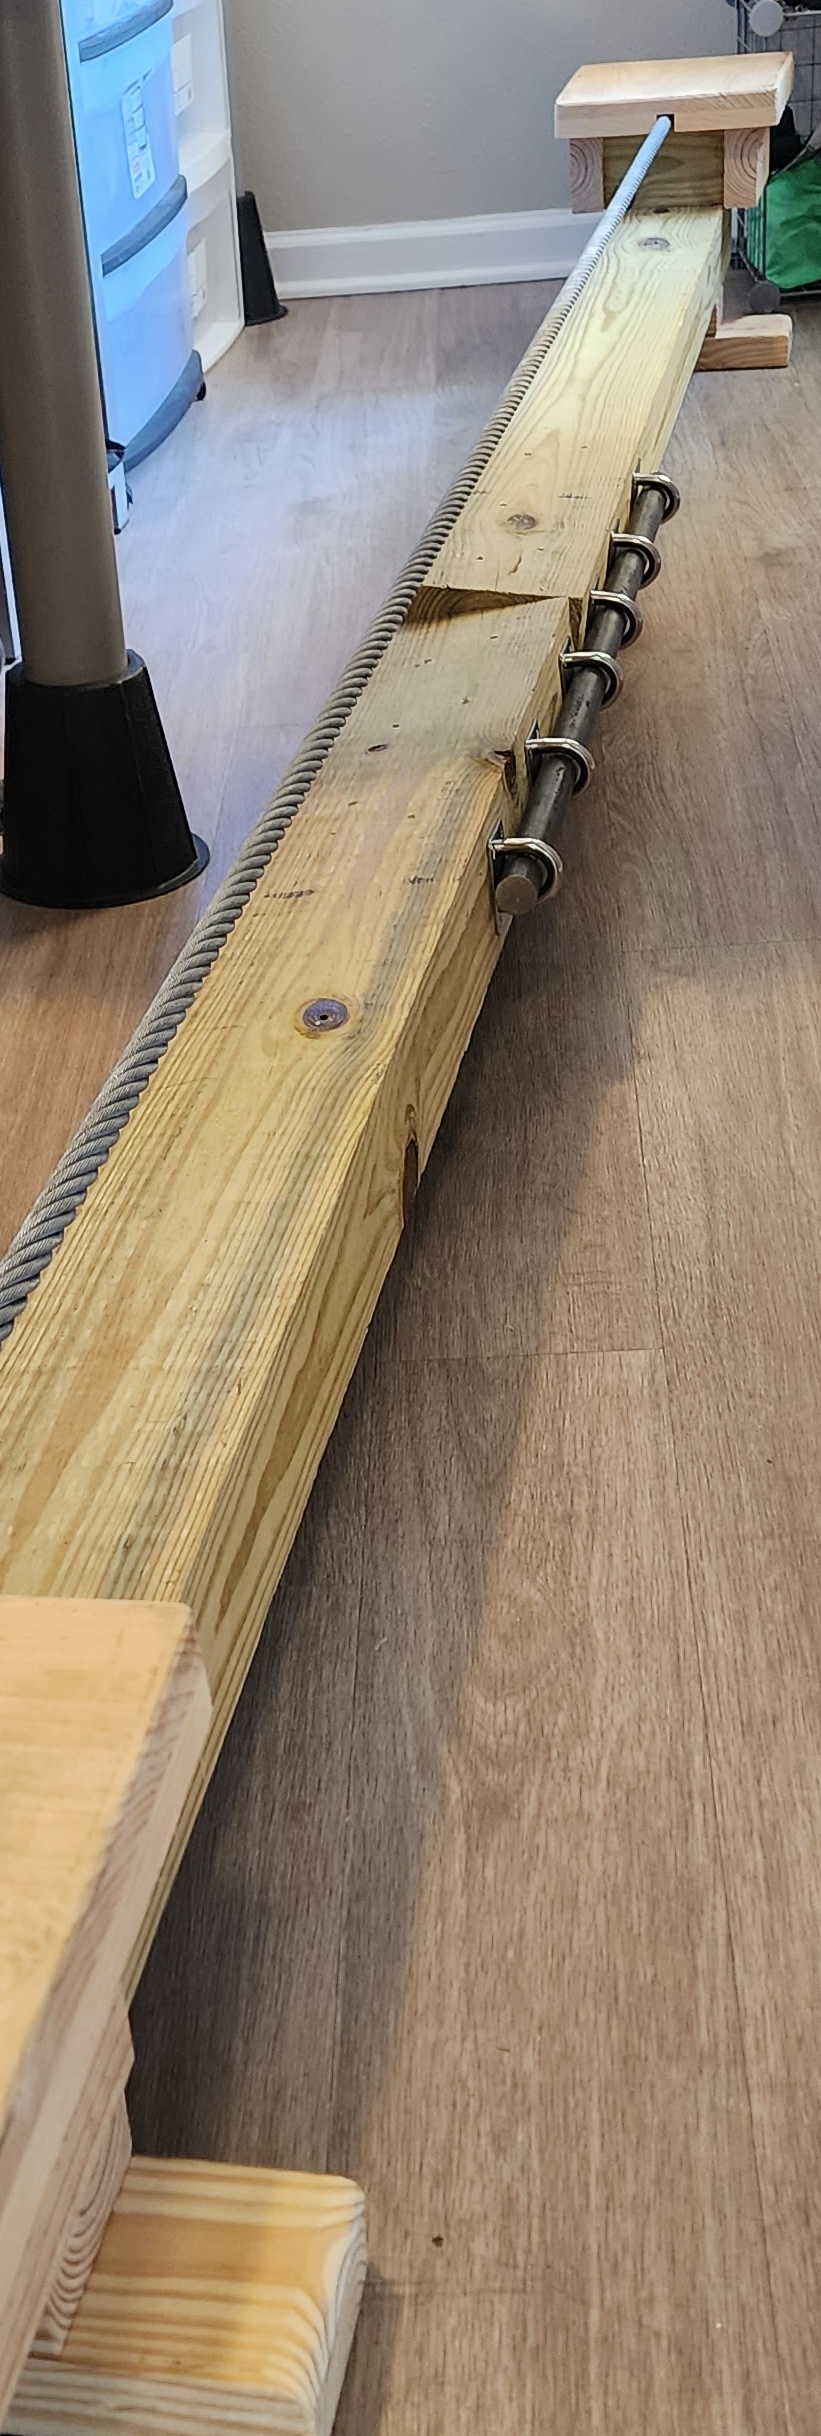
Solution: My solution was to cut the beam
in half, and then 'pin' the beam (with a 1" steel rod) back together, creating a rotation point --
allowing the beam to continue to twist, while both ends remain flat and on the ground. A bonus
is that now the trainer can fit (in parts) in the back of a vehicle for transport (instead of on top
on the roof rack).
I at first added this fix to the top of the beam (which worked great), but flex in the cable
caused the cable to just barely touch the new hardware, so the hardware fix was moved to the side
of the beam. The beam still takes all of the compresive forces of the tightened cable, so the
steel rod is only there to prevent the beam from moving out of place (and likely
way stronger than I needed it to be, but I would rather be safe than sorry).
Items purchased (from Amazon) for this 'fix':
- Flomore M10 Ceiling Hook Pad Eye Plate 304 Stainless Steel Wall Mount Hook Heavy Duty for Hanging
- A36 Steel Round Rod, Unpolished (Mill) Finish, Hot Rolled, ASTM A36, 1" Diameter, 36" Length
|
|